Pages

Thursday, 6 October 2011

Nail of the Day: OPI Lincoln Park After Dark

Todays Nail of the Day is OPI's Lincoln Park After Dark, a deep purple creme; OPI describe this colour as 'where midnight meets purple'. This is lacquer is OPI's MOST popular shade; and i totally see why, this colour is always one i come back to if im unsure on what to put on my nails. I love the way this polish applies, it glides on like a dream; so smooth and the shine! It has the glossiest appearance ever, even without a top coat! 
This colour is perfect for autumn.

 Natural light, 2 coats

What's your favourite OPI colour?

Keep Smiling Beauties. xo

Tuesday, 4 October 2011

Autumn Inspired FOTN

Hey Guys,
just a quick face of the night for you, i went out for dinner with my mum and step dad last night and i decided to take the season into consideration when doing my make-up. As I've said before, i love the rich autumnal colours, so i wanted to use them in a make-up look :)

The finished look :)
 On the eyes i used a MAC paint in Bare Canvas (£13.50) to prime the eyelids and give the shadow something to adhere to. Then i applied MAC's Vanilla (£11.50) all over the lid, then i took a redish/brown shade something similar to MAC's red brick and gently buff that in with a light hand just above the crease to create a wash of colour. Then i took a matte brown, anything like Urban Decays 'Buck' from the Naked Palette or MAC's 'Cork'; just a warm-toned brown and buff that into the crease, blending it into the red & vanilla to create a flawless smokey eye.

I also took the 'Buck' under the eye, along the lash line and blended that out with a blending brush. 
Then i took MAC's 'Carbon' with an angled brush and pressed that gently along the lash line, really close to the lashes to create the illusion of thicker, defined lashes. I did exactly the same with the black shadow along the upper lash line allowing a base for the fake lashes to be applied.
On the waterline i used Avon's SuperShock Gel Eyeliner in Black and then Sleek's Ink Pot in Dominatrix.
I applied one coat of Volume Million Lashes in Extra Black by LO'real, then applied my MAC lashes in number 3 using Duo Eyelash Glue.
I have a base on; Concealer, Foundation and Powder. I left my brows natural, applied some bronzer to contour using the Bourjois Chocolate Bronzer, i know that's not its proper name but I'm sure you all know which one i mean when i say that.
Then finally the lips. i applied MAC's Russian Red (£13.50), i absolutely LOVE wearing lipstick at the minute, its gives your make up such a different feel.


Keep Smiling Beauties xo.

Sunday, 2 October 2011

Its a Midnight Affair

Hello again lovelies,
After my half moon manicure i was feeling creative and wanted to try a french manicure with a twist!
I have to admit it wasn't perfect, but practise makes perfect :)


Here's some steps on how to achieve this manicure:

 Here's what your going to need: Base and Top coat, Two colours of your choice; base colour and tip colour, a nail file (if your nails need shaping), stickers or a guide if you don't feel confident doing it free hand :)


Step 1: Start with clean, shaped nails and apply a base coat; I'm using Salon Systems Matte Base Coat, but use any you have :)
 Step 2: Apply a base colour and allow to completely dry, i used Nude Beige by Models Own £5 available from their website.
 Step 4: Apply guide stickers if you need, available at Boots or Superdrug. Then apply your tip colour, i decided to go with Midnight Affair by Revlon £6.29 from Boots. i absolutely love this petrol blue for autumn, its a gorgeous rich colour.


Step 5: Apply a Top Coat, to lock in the polish allowing it to last longer. I used Rimmel Pro Super Wear Ultra Shine Top Coat, around £5.00 from Boots.


Keep Smiling Beauties xo

Tuesday, 27 September 2011

Half Moon Manicure

hello lovelies,
I've always wanted to attempt a 'half moon manicure', admittedly I've tried a couple of times and completely failed.
Today i had nothing to do and was feeling inspired to play around with my nails, switch it up a little :)

Here's the things your going to need:

 Nail Polish Remover (if you have polish on or for any mistakes), hand cream, a base coat & top coat, a base colour and a top colour, reinforcement circles, a nail file and some cotton pads.
 
 You can pick them up from any stationary shop, i got mine from Colemans for £1.47
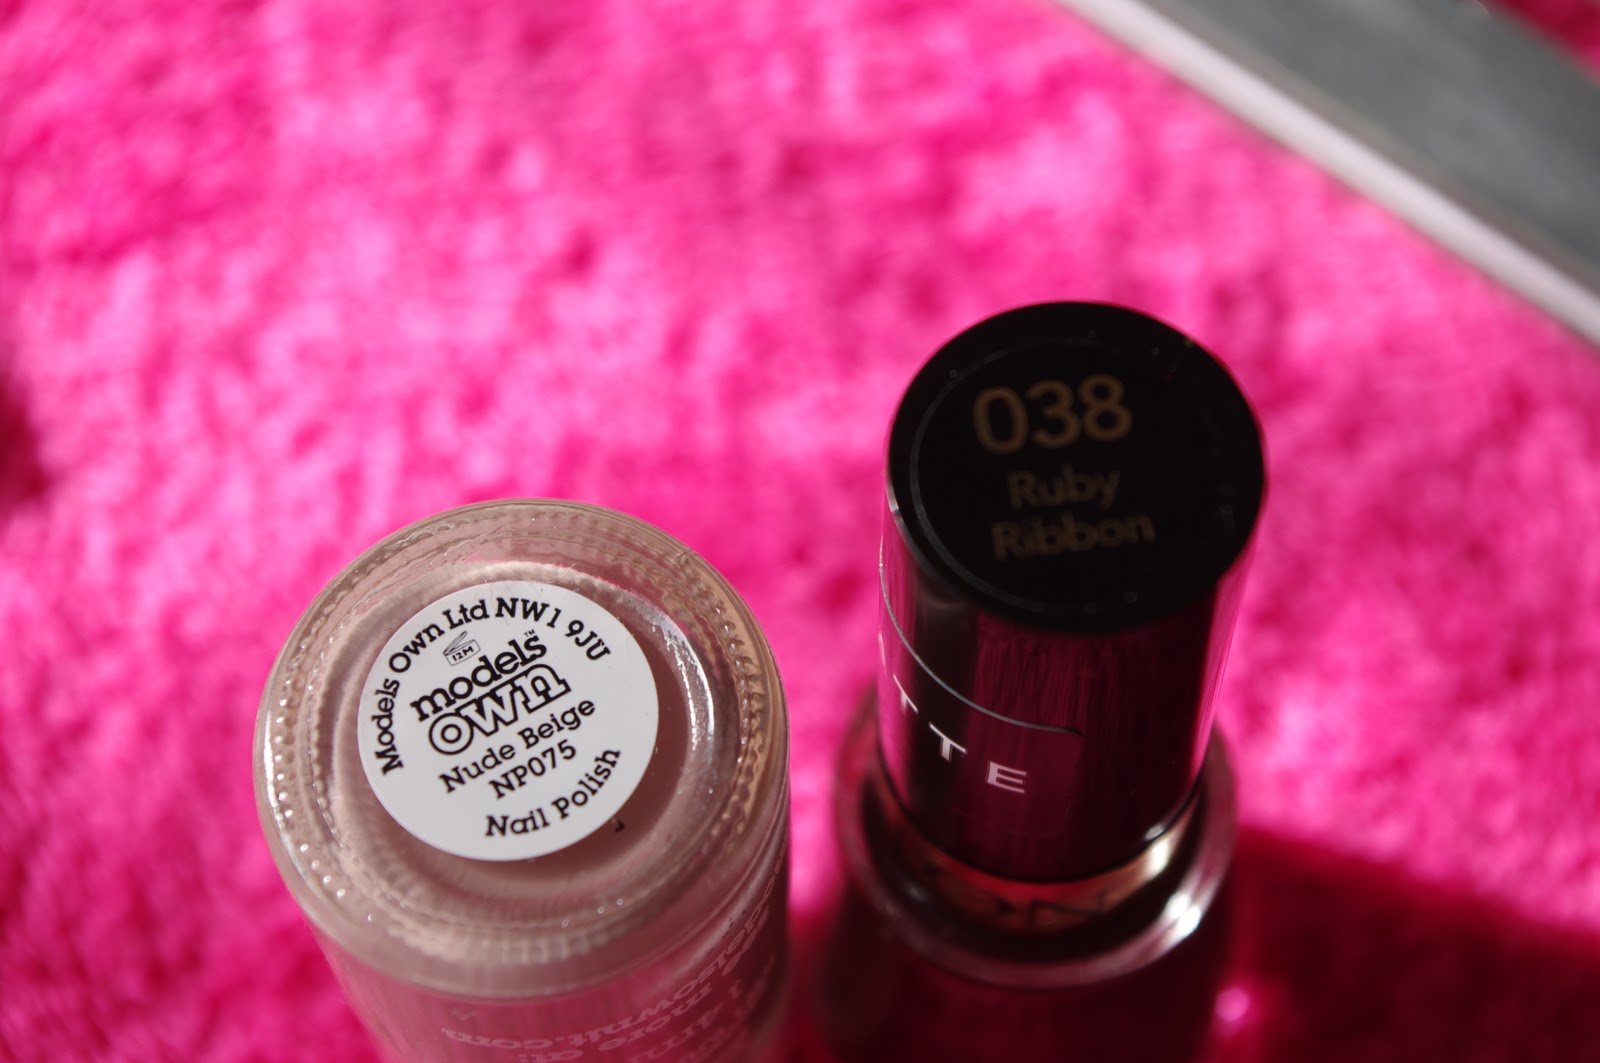
 For my base colour i used Nude Beige by Models Own £5 and Ruby Ribbon by Revlon £6.29

Okay, here we go :
Step 1: start with clean shaped nails


Step 2: Apply a base coat, I'm using Salon Systems Matte Base Coat; you can use any base coat you have.

Step 3: Apply your base colour all over the nail and leave to dry completely.


Step 4: stick on your reinforcement stickers, i stuck mine a little high!

Step 5: Apply your top colour(2 coats); i went with a matte finish to add depth


 (nails once i'd removed the stickers)
 Step 6: Apply a Top Coat; i used Rimmel Pro Super Wear Ultra Shine Top Coat around £5.00 from Boots


I am quite proud of the finished manicure, next time i know to apply the reinforcement stickers lower down to create the 'Half Moon' shape. I love the combination of the colours, its perfect for autumn :)

Keep Smiling Beauties xo.